Silky slices of salty scrumptiousness.
Every time I make bacon, I trim the ends of the bellies. This does a few things: it makes them fit easier into the Ziploc bags, and it removes large chunks of fat that I don’t necessarily need in my breakfast. But I am left with an issue. Or at least I suppose it’s an issue, it may in fact be a treat. I have these big chunks of uncured, perishable fat, with no real intention of what to do with them. I have diced up this fat and used it as lardons as an accessory in chili. These lardons also make a great addition to split pea soup as well. But, for the most part, the fat just sits in my fridge and starts to smell funky after a week or so.
This last round of bacon making, I made a double recipe, and one of the belly chunks had a particularly large chunk of fat on one end. I thought I may get some additional goodness out of the scraps by attempting to make some salt pork. Salt pork is very historic food, dating back many centuries as a way to preserve fatty pieces of meat for travel both aboard ships, and for soldiers marching across continents. The preparation typically involved putting large chunks of belly or fatback into a cask, layering with salt, and topping with brine. These casks would be transported and then the rations would be removed prior to consumption, soaked in fresh water to remove some of the saltiness, and then used as you would use a bacon or other salty ham. You can find things called salt pork in the grocery stores these days, but they are neither as salty or as good tasting as what you can produce on your own.
I had no interest in the whole cask and brining approach, and looked for much easier recipe. Shockingly, there are not many good ones on the internet, but I consulted my new favorite book, Ruhlman’s Charcuterie. He has a very quick recipe for Salt Pork and it uses the same cure as his bacon. He even mentions it as a good use for the ends you trim from your belly slabs you are making bacon out of. How fortuitous. I did not make the recipe I have gone to as a default for the last few batches, but a variation of the one in Charcuterie. This left me with a large amount of cure left over, which in turn made this just a 5 minute job of prep.
It couldn’t be simpler, and I am not actually including this as a recipe at the bottom because it is so easy. Cut your ends into inch by inch chunks, put them in a Ziploc, add a big healthy scoop of the basic cure, and throw it in the fridge. I flipped it and redistributed the cure and liquid every few days. And where I let the bacon cure for a week, the salt pork went for about three. That fat turns a bit grey, and the meat gets very dark red and rather firm. Once I felt it was ready, I rinsed it off, dried it thoroughly, put it in a clean Ziploc, and threw it in the freezer for future use. The smaller chunks made it easy to just thaw a few pieces for a recipe, instead of large chunks which would need to be refrozen after the desired amount was cut off.

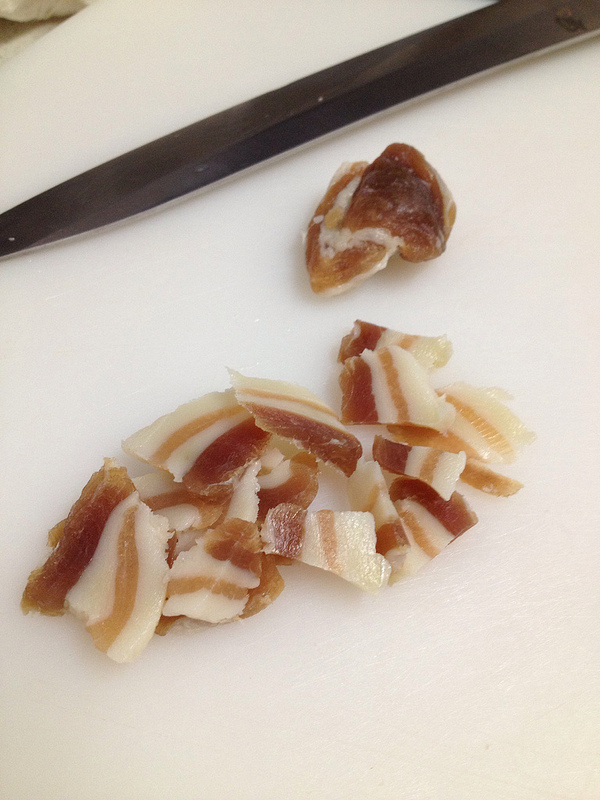
Ready to go in the freezer. Or the frying pan.
These chunks can still be soaked in fresh water if they are too salty for you, but I am using them in places where I would otherwise use pancetta, prosciutto, or even country ham, so no. I cut them thin using my sushi knife and give them a quick fry as the pork is integrated into the dish. Case in point the recipe below.
That just tastes of the south right there.
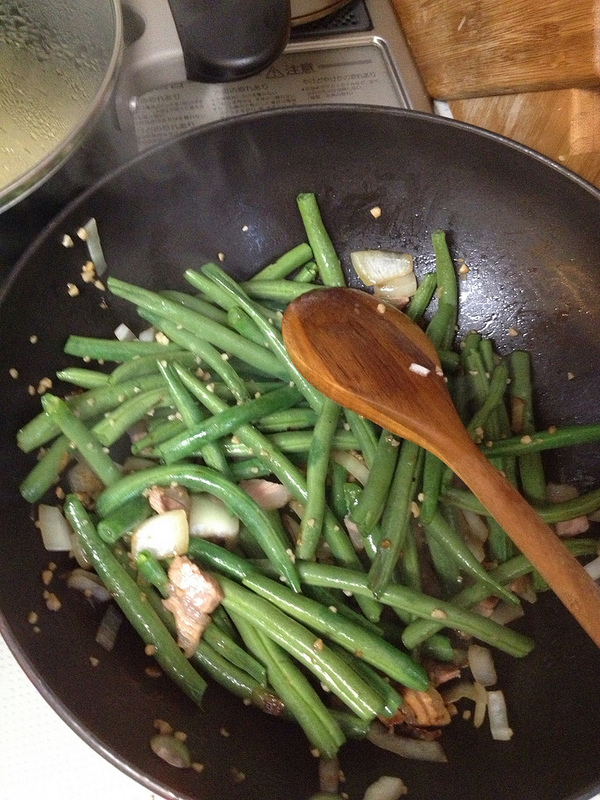
Green Beans with Salt Pork and Garlic
- 1 oz Thinly Sliced Salt Pork
- 1 lb. Green Beans
- 1/2 Yellow Onion, Chopped
- 3 Cloves Garlic, Minced
- Olive Oil
- Black Pepper
Add olive oil to a pan on Med-High heat. Once oil is hot add salt pork and saute for 1 minute. Add onions and continue to saute for another 2-3 minutes. Add green beans, garlic and pepper. Toss to thoroughly mix all ingredients in the pan and continue to saute another 2-3 minutes. As the onions move toward translucent and green beans get a bit of color on them, reduce the heat, cover and let the beans steam for about 10 minutes. You may need to ad 2-3 T. of water to promote the steaming, but it isn’t always necessary. Once beans are done to your desired crispness, remove from heat and serve. Serves 2-3.
